
By: Marshall McDougal

There is no time like the present to pick up a new hobby and fly tying is one of those things that goes hand in hand with fly fishing. Not only will you be able to keep your fly boxes stocked, you will get a better understanding of bug life cycles and the diet of different fish species. Here is a quick and dirty guide to how to get started.
The Basics
What are the essentials you need to get started? We will dive into the hooks and material needed a little later but as far as the basic equipment needed, here are the 4 things required to start spinning up some new bugs!
Vise: The bread and butter of a fly tying desk is the vise. This allows you to hold the hook firm while you add material. Prices can vary from spending a couple bucks to a few hundred but you will want to look for a true rotary vise when starting out. This will give you something you can grow on as your tying skills get better.
Super AA Fly Tying Vise – Not sure you want to go all in on tying just yet? Start off with something affordable that will get the job done. Lots of professional tyers started out with one of these before they upgraded later on.
Renzetti Apprentise Vise with Pedestal Base – Want to start off with something quality that will last you a lifetime but not break the bank? The Renzetti offers all the features of a rotary vise in a light compact starter vise that will allow you to tie everything from size 22 flies to big 4/0 streamers.
Renzetti Traveler 2200 – If you are looking for a great true rotary vise and still want to be budget friendly, this is the way to go. I use these vises to tie all of my flies and have never had issues with them. They are one step up from the apprentice, have a true rotary feature and give you a thread holder for when you use the rotary feature.
Renzetti Presentation 3000 – Ready to go all in? Look no further than Renzetti’s best! I have yet to build the budget for one of these bad boys but it is on the Christmas wish list every year.
Bobbin: This is how you control applying thread to the hook. The bobbin will hold your thread spool and give you an effective way to wrap thread around the hook and apply material.
Scissors: You’ll eventually have to cut your thread, materials and other things while tying so a good pair of sharp scissors is a must!
Dr. Slick All Purpose Scissors
Loon Outdoors Ergo All Purpose Scissors
Whip Finish or Half Hitch: Although not 100% required, a whip finish is a great way to put the finishing touch on your fly by knotting the thread so it stays secure when you cut the thread away. This can also be accomplished with a half hitch tool. A few alternatives is to learn how to hand whip finish or half hitch by hand.
Loon Outdoors Ergo Whip Finisher
Add-Ons That Are Useful

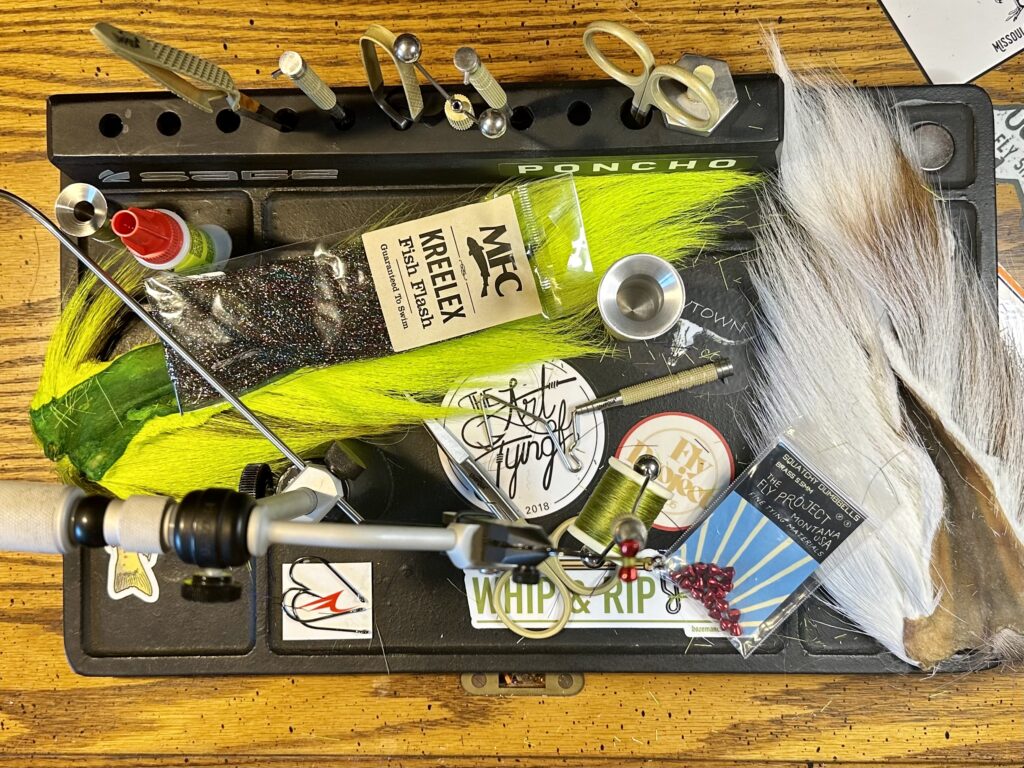
I feel like there are a million options for tools when it comes to tying. Some you need, some make life easier and some sit on your bench and collect dust. Here are 5 tools that are not completely needed but will make your life easier when you start tying more:
Hackle Pliers: When it comes to wrapping hackles around the hook shank, doing it by hand will get you by and still allow you to produce some pretty good quality flies. If you want to take it to the next level and achieve consistent wraps without losing hold of the hackle, a good pair of hackle pliers come in very handy.
Dr. Slick Rotary Hackle Pliers
Loon Outdoors Ergo Hackle Pliers
Hair Stacker: The key to any great elk hair caddis is making sure your elk hair is evenly stacked. Lots of patterns that require tying in deer or elk hair call for stacking it so the ends are even. A good hair stacker will improve the quality and consistency of the patterns where you are using hair as a wing.
Dr. Slick Hair Stacker – Medium
Loon Outdoors Zippy Hair Stacker – Medium
Dubbing Twister: As you progress with tying, the standard twisting of dubbing directly onto the thread won’t always achieve the end result you want. There are lots of patterns that call for spinning a dubbing loop and one of the best tools for this is a dubbing twister.
Loon Outdoors Gator Grip Dubbing Spinner
D-Loop Tweezers: these will go hand in hand with the dubbing twister tool. When you create your dubbing loop, there is no easier way to add material to your loop than staging it in these longer pliers so you get an even twist.
Dr. Slick Dubbing Loop Tweezers
Bobbin threader: Here is one that I still don’t use to this day. When I am loading up a new spool of thread into a bobbin, I still feed the tag end into the bottom of the bobbin and suck air through until the thread is fed all the way into the bobbin. However, the proper way to accomplish this task is to use a bobbin threader.
Loon Outdoors Ergo Bobbin Threader
Tying Kits

There are also a bunch of starter tying kits on the market to get you started. If you don’t want to try and piece together your tools and vise, take a look at a few of these options:
Colorado Anglers Z797 Wooden Fly Tying Standard Tool Kit – The gold standard for every beginner. I am willing to bet that 90% of fly tyers have started out with this exact kit or something of this nature. It covers all your basics and will allow you to tie the majority of trout and smaller streamer patterns. It includes the essential tools as well as some extra tools that you will need later on.
Umpqua Dream Stream Plus 7 Piece Fly Tying Essentials Tool Kit – If you are looking to start with some good quality tools for a great price, the Umpqua Dream Stream tools are some of the best on the market for the price. This gets you all the essentials pls all of the add on tools you will need to progress as a tyer. If the 7 piece doesn’t fit exactly what you need, take a look at their 12 piece set that offers even more tools!
Loon Outdoors Complete Fly Tying Kit – This was my first tying kit that I purchased when I finally upgraded from the starter tool kit. It offers everything you will need and more. Loon makes high quality tools and most of these I still use to this day.
Materials and Hooks

The amount of material and hooks available on the market is absurd so for the sake of time, I am going to run through a few patterns that are great to start with and what materials you will need to start spinning up bugs.
Wooly Bugger: A classic fly pattern that has more variations and color options than you can think of. The basics for this fly is marabou, flash, chenille, hackle, a cone and thread. The material list below is to tie this bug in olive but it can also be tied in white, tan, brown, black and purple.
Hook: TMC 5262 – Size 6
Bead: Hareline Brass Cone Head – 3/16”
Thread: Danville Flymaster Plus 140 Denier – Olive
Tail: Hareline Wooly Bugger Marabou – Olive
Tail: Crystal Flash – Gold
Body: Hareline Wooly Bugger Tinsel Core – Olive
Body: Saddle Hackle – Olive
Zebra Midge: These are super effective for trout and are a super easy pattern to tie. They’re have a thread body with wire wraps for the ribs and are finished with a pinch of dubbing behind a bead head. The material list is for a black midge but can be tied in red, olive, purple and brown. Feel free to mix and match the thread, wire and dubbing colors as you see fit.
Hook: TMC 2488 – Size 18
Bead: Blue Wing Olive Tungsten Bead – 2mm or 5/16”
Thread: Danville Uni Thread 6/0 – Black
Dubbing: Hareline Ice Dub – UV Brown
Elk Hair Caddis: A true classic in the trout world. Not only is this a fairly simple pattern to tie, but once you master tying with the deer/elk hair, it will open up new patterns for you to get started on. The below material list is for an olive variation but they can be tied in brown, black, gray and tan.
Hook: TMC 100 – Size 14
Thread: Veevus 8/0 – Olive
Body: Hareline Micro Fine Dubbing Dispenser – BWO Olive
Body: Whitings Dry Fly Hackle – Golden Brown
Rib: Ultrawire BR – Amber
Wing: Hareline Natural Elk Hair Patch
Final Thoughts
For me, fly tying is a great way to unwind and is almost therapeutic. There is nothing more satisfying than landing a fish on a fly that you tied. Not only are you going to pick up a new hobby, you will learn a lot about the diet of the fish you are pursuing. This is a great way to understand hatch charts and as you progress, building life cycle boxes is the best way to make sure you are as successful as possible on the water.
If you have any questions on how to get started tying, feel free to reach out. I would be happy to answer any questions and get you in a new set up. Wanting to set up a one on one tying lessons? Reach out to us at cowtownflyco@gmail.com and we will set up a video meeting to teach you individual patterns or techniques that are useful. We hope this was an informative article and that you are able to get your fly tying journey started!
Pingback: Christmas On The Fly
Pingback: Winter Time Blues